Showing posts with label project of the week. Show all posts

Tuesday, 31 January 2012

Feeling inspired.....

I am very excited about the project that I have to show you.......
I really like it!
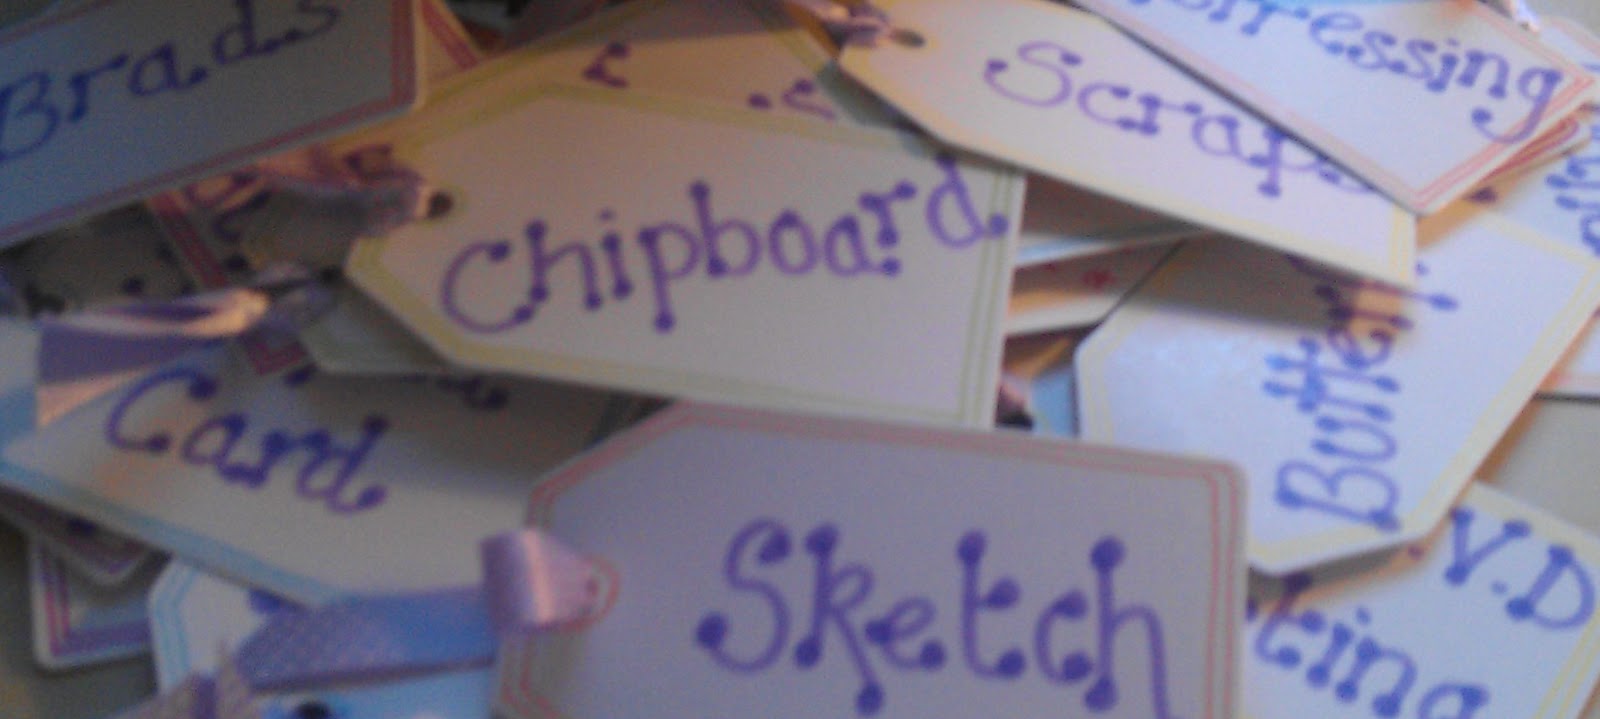
This is an inspiration jar......
All you need is an empty jar, some cardstock, embellishments and ribbon (mine had to be in purple!)....
1. Decorate the body of your jar.
2. Decorate the lid of your jar.
3. Add 3d gloss to the lid and allow to set - this gives a lovely finish to the lid.


Now for the inside of the jar......
4. Create lots of tags.
5. On each of the tags write a technique - eg... stamping, embossing, paper folding etc etc
6. Decorate and add ribbon.

Now whenever my mojo leaves or if I am ever just having one of those days....... I shake my jar..... take out 3 tags...... and that becomes my recipe for the project I am making.
I think this has to be one of my favourite things!!!
I hope it helps you out too.....
If you make one, I would love to see it.

Happy crafting,
Nikki x

Thursday, 8 December 2011

Snowman circles

This is a card I made at my demos over the last loop - very interactive and fun for the children to make or play with.
I was asked to put step by step pictures up here..... your wish is my command! lol
For this card you will need 3 different sized circles (I used the largest 3 nesting dies from Do Crafts), some paper, adhesive gems, brads and a couple of pens (orange and brown).


 Connect the circles one at a time with the brads - follow the photos.
Check to make sure that the snowman will fold down.
Using adhesive stones, add your eyes and smile.

Create a noise by creating an orange triangle on a scrap of card. Cut this out and then round off the edges.
To make your carrot look realistic, add some little flecks of brown pen, as shown above.
Add the nose with some 3d foam pads.
Create a hat with some scraps of paper and glue into position.
Write a message on the tummy of the snowman - this will be your largest circle.
This message will be hidden when the snowman is folded down.
And that's you finished!!!
I hope you enjoy making your own family of snowmen.....

Let me see then when you have made them.

Happy craftin'
Nikki x

Monday, 17 October 2011

Spooktacular!!

I had a wonderful demo in Howdens, Inverness this weekend. I still have a sore side from laughing so much.
One of the projects I made was this spooky card.......

What you need......
green, black, orange and white cardstock (I used Papermania textured cardstock)
white alphabet stickers (I used Me To You alphabet stickers)
a fine black pen (I used a Papermania black pen)
parenthesis nesting dies
small circle punches
3d foam pads
tacky glue

How I made it........
1. cut a medium sized parenthesis from green and black cardstock.
2. cut the black with a grass edge (use the above picture for inspiration). Add to the green parenthesis using foam pads.
3. punch out 2 white circles and one green circle.
4. cut the green circle in half and fix into position on top of the white circles. Add to your monster.
5. add detail to your monster using the pen.
6. position your monster to the top half of your card.
7.add your wording to the bottom section of the card.
8. finish your card by adding a pen doodle border to edge of the card.....


Let me know if you make any as I would just love to see them!
Happy craftin'

Nikki x

Friday, 16 October 2009

A little something different for me....

Over on Do Crafts, I have made the jewelry project of the week.
Here is a picture of it....What do you think?